Each bite of a cheeseburger slider transports you to a delightful world of flavor, where juicy meat meets the satisfying embrace of a warm, pillowy bun. Imagine the anticipation as you lift the slider to your mouth, the aroma wafting up, rich and savory, beckoning you to take that first bite. The moment you sink your teeth into the tender patty, melted cheddar oozes out, wrapping your taste buds in its creamy goodness, while the fresh crunch of lettuce and the tang of pickles add a glorious contrast. Every slider bursts with personality, making it not just a meal but an experience worth savoring.
As you gather friends and family around the table, the sizzling sound of these sliders cooking fills the air, the smell mingling with laughter and conversation. Perfectly portioned for sharing, these little culinary treasures invite everyone to indulge, allowing for the kind of playful eating that brings joy. You can’t help but smile as you assemble your sliders, experimenting with toppings and flavors, letting your creativity shine. Cheeseburger sliders don’t just fill your stomach; they make memories too.
Why You’ll Love This Cheeseburger Sliders
Cheeseburger sliders stand out as the ultimate comfort food, capturing the essence of a classic burger but in miniature form that makes them perfect for any occasion. They’re the life of the party at family gatherings, game days, or casual weeknight dinners. Not only do they cater to diverse tastes and preferences, but their bite-sized nature means everyone can enjoy a little bit of everything.
You’ll love how customizable these sliders are. The basic foundation of ground beef and cheese lets you play around with various toppings, from crisp lettuce and fresh slices of tomato to the sharp bite of pickles and the tangy kick of mustard. With each slider, you can create your ideal combination, satisfying even the pickiest eaters while indulging in your own unique creations. Each bite dials up the excitement with a burst of flavor, ensuring you won’t want to stop at just one.
Preparation Phase & Tools to Use
For a successful cheeseburger slider adventure, you don’t need a full chef’s kit, just a few essential tools that will make the process a breeze.
-
Grill or Skillet: The main stage for cooking! Both options give you that perfect sear while keeping the meat juicy. A grill adds that desirable smoky flavor, while a skillet allows for perfect heat control.
-
Mixing Bowl: This simple tool is perfect for combining your ingredients to ensure every patty bursts with flavor.
-
Spatula: A sturdy spatula is key for flipping those patties without losing any of that delicious cheese or juices.
-
Bun Toaster or Grill Basket: Toasting your buns elevates the texture and flavor, adding a satisfying crunch that complements the melted cheese beautifully.
These tools will help create the perfect cheeseburger sliders. Here are some practical preparation tips to ensure a seamless cooking experience:
- Prep your toppings before cooking to keep the excitement flowing once the sliders come off the heat.
- Don’t forget to have enough serving platters ready for your guests to stack their assembled sliders.
Ingredients for Cheeseburger Sliders
Gather these simple yet flavorful ingredients to begin your cheeseburger slider journey, each one playing a crucial role in building that mouthwatering taste:
- 1 pound ground beef: The star of the show! Use lean ground beef for a juicy and flavorful patty. You can substitute ground turkey or plant-based meat for a lighter or vegetarian option.
- 1 teaspoon garlic powder: This adds a robust flavor layer, elevating the taste of the beef.
- 1 teaspoon onion powder: Bringing subtle sweetness, it harmonizes beautifully with the meat.
- Salt and pepper to taste: Essential for seasoning the beef, enhancing all the flavors.
- 8 small slider buns: Choose soft, fresh buns that cradle the patties perfectly. Alternatively, consider whole wheat or gluten-free varieties.
- 8 slices of cheddar cheese: Classic and melty, cheddar completes the flavor profile. You can experiment with Swiss, pepper jack, or even gouda if you prefer something different.
- Optional toppings: These can include crisp lettuce, juicy tomato slices, tangy pickles, and your favorite condiments like ketchup and mustard. Feel free to get creative with your choices!
How to Make Cheeseburger Sliders
Preparing cheeseburger sliders is a delightful experience. Follow these clear, step-by-step instructions to create your sliders:
-
Preheat your grill or skillet over medium heat, ensuring a perfect surface for searing the patties.
-
In a mixing bowl, combine the ground beef, garlic powder, onion powder, salt, and pepper. Mix gently to avoid overworking the meat, which can lead to tough sliders.
-
Form the mixture into small patties that fit your slider buns comfortably. Don’t worry about perfection; shapes vary from rustic to sleek, but each will taste incredible.
-
Cook the patties on the grill or skillet for about 3-4 minutes per side, until they reach your desired doneness. For juicy sliders, aim for medium.
-
During the last minute of cooking, place a slice of cheese on each patty to melt. This creates a gooey, cheese-coated moment that will have you drooling.
-
Toast your slider buns lightly on the grill or skillet until golden brown. Toasting adds that extra touch of depth and flavor.
-
Assemble the sliders by placing each cheesy patty on a bun, adding your choice of toppings—let your creativity shine!
-
Serve immediately and enjoy! Gather your loved ones, share your creations, and relish the magic of cheeseburger sliders.
Chef’s Notes & Helpful Tips
- Make-ahead tips: Prep your slider patties a day in advance and keep them refrigerated. This allows the flavors to meld beautifully.
- Cooking alternatives: If grilling isn’t an option, you can also use an air fryer at 375°F for about 10-12 minutes, or bake them in a preheated oven at 400°F for approximately 12-15 minutes on a baking sheet.
- Customization ideas: Try different cheeses like blue cheese or feta for a spin. Feel adventurous? Add a slice of avocado or crispy bacon for extra indulgence!
Common Mistakes to Avoid
Cooking cheeseburger sliders is straightforward, but a few pitfalls can arise:
-
Overcooking the patties: Since sliders are smaller, they cook faster. Keep an eye for that perfect medium doneness to maintain juiciness.
-
Too much mixing: Overworking the ground beef mixture can lead to tough sliders. Gently combine ingredients to keep them soft and tender.
-
Forgetting the cheese: Place the cheese on for the last minute. If you add it too early, you might miss that perfectly melted experience.
What to Serve With Cheeseburger Sliders
Complement your cheeseburger sliders with delicious sides that balance the richness. Here are some tasty pairings:
- French fries: Their crispiness paired with a soft slider creates a delightful texture contrast.
- Sweet potato fries: They add a range of flavors, from salty to sweet, keeping the experience exciting.
- Coleslaw: The refreshing crunch adds a cooling contrast that cuts through the slider’s richness.
- Potato salad: This classic side retains its creaminess, marrying well with the sliders.
- Veggie sticks and dip: Keep it healthy and refreshing with crunchy carrots, cucumbers, and celery paired with ranch or hummus.
- Grilled corn on the cob: Sweet and smoky, corn enriches the BBQ vibe of your meal.
- Onion rings: Crispy and delicious, they provide that satisfying crunch with every bite.
- Baked beans: Their sweetness and heartiness form a delightful pairing with the savory sliders.
Storage & Reheating Instructions
If you have leftover sliders (though we doubt that!), store them correctly to maintain flavor:
- Fridge: Seal in an airtight container. They last up to 3 days in the refrigerator.
- Freezer: To preserve freshness for longer, freeze the cooked patties individually wrapped in plastic wrap and foil. They can keep for up to 3 months.
- Reheating methods: For best results, reheat in the oven at 350°F until warmed thoroughly. A microwave works too, but may leave the buns slightly soggy. If you want that perfect crunch back, a quick toast on the skillet or grill works wonders.
Estimated Nutrition Information
Enjoying cheeseburger sliders doesn’t have to come with guilt! Each slider contains roughly 250 calories*, 15g of fat, 12g of carbs, and 20g of protein, but keep in mind these are approximations and will vary based on specific ingredients used.
*Disclaimer: Nutrition may vary based on specific brands and quantities used.
FAQs
Can I use other meats?
Absolutely! Ground turkey or chicken works well, and for a vegetarian version, use meat substitutes like black beans or lentils.
What’s the best way to season the patties?
Feel free to experiment with different spices, such as Worcestershire sauce or smoked paprika, to intensify flavors.
Can I make these sliders spicy?
Yes! Incorporate diced jalapeños or spicy sauces into the ground beef mixture for an exciting kick.
What is the best way to keep sliders warm for a party?
Serve on a warming tray or place them in a slow cooker set to low heat to keep them cozy throughout your gathering.
How can I lighten these up?
Opt for leaner ground beef or turkey, use whole grain buns, and load up on fresh veggie toppings to make your sliders healthier without sacrificing taste!
Conclusion
Now that you’re equipped with the knowledge to create the perfect cheeseburger sliders, why not give them a try? Each slider could become a moment of joy, a burst of flavor enveloped in soft bread, and a source of laughter shared with loved ones. Don’t just make a meal—create an experience that tantalizes your taste buds and connects those you cherish. Gather your ingredients, fire up that grill or skillet, and dive into the delicious dance of cheeseburger sliders. You won’t just be serving food; you’ll be crafting unforgettable memories!
Print
Cheeseburger Sliders
- Prep Time: 15 minutes
- Cook Time: 20 minutes
- Total Time: 35 minutes
- Yield: 8 servings 1x
- Category: Appetizer
- Method: Grilling
- Cuisine: American
- Diet: None
Description
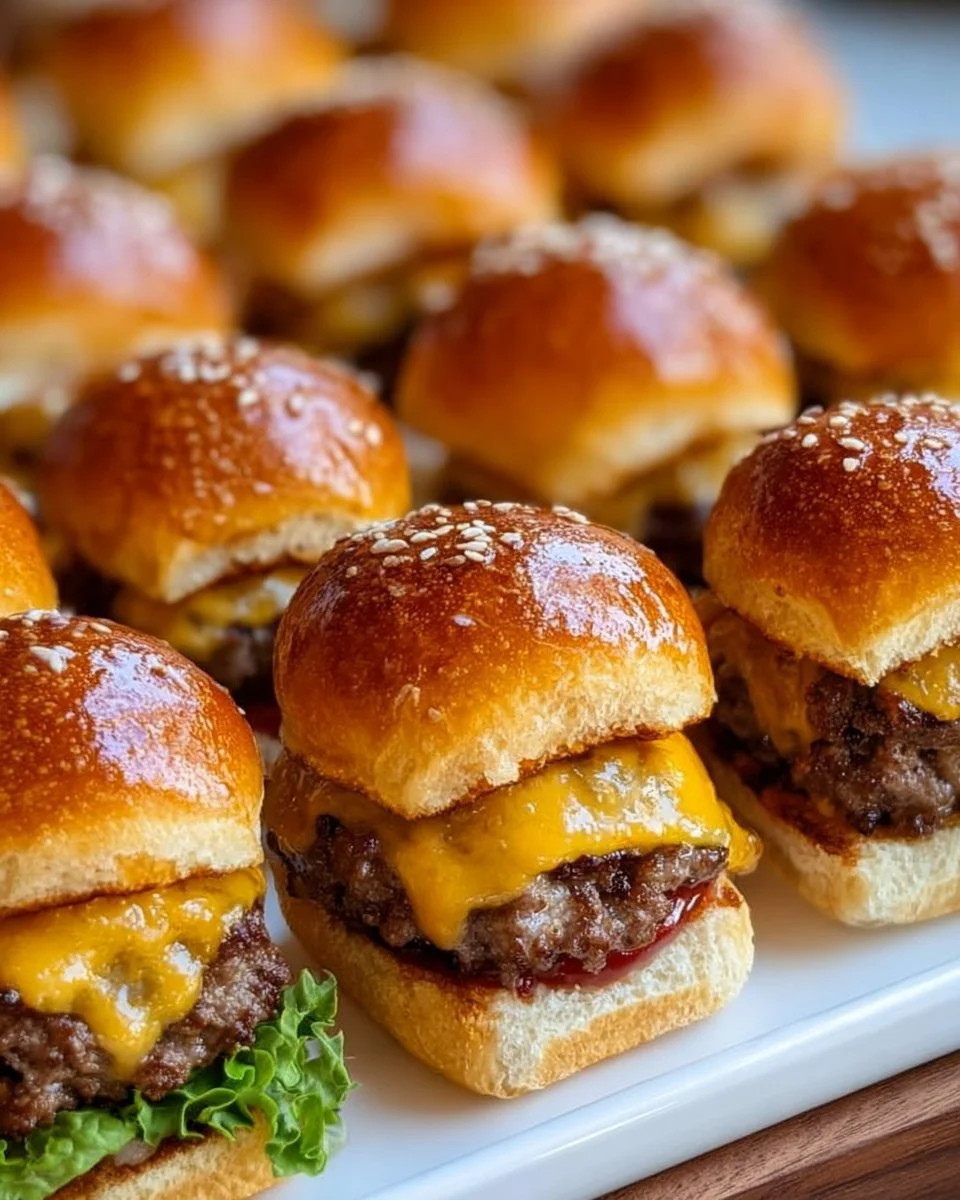
Delicious bite-sized cheeseburgers that combine juicy beef, melted cheese, and your favorite toppings all nestled in a warm slider bun, perfect for any gathering.
Ingredients
- 1 pound ground beef
- 1 teaspoon garlic powder
- 1 teaspoon onion powder
- Salt and pepper to taste
- 8 small slider buns
- 8 slices of cheddar cheese
- Optional toppings: lettuce, tomato slices, pickles, ketchup, mustard
Instructions
- Preheat your grill or skillet over medium heat.
- In a mixing bowl, combine the ground beef, garlic powder, onion powder, salt, and pepper.
- Form the mixture into small patties that fit your slider buns.
- Cook the patties on the grill or skillet for about 3-4 minutes per side.
- During the last minute of cooking, place a slice of cheese on each patty to melt.
- Toast your slider buns lightly on the grill or skillet.
- Assemble the sliders by placing each cheesy patty on a bun, adding your choice of toppings.
- Serve immediately and enjoy!
Notes
For make-ahead tips, prep your slider patties a day in advance and keep them refrigerated to enhance flavor.
Nutrition
- Serving Size: 1 slider
- Calories: 250
- Sugar: 2g
- Sodium: 350mg
- Fat: 15g
- Saturated Fat: 6g
- Unsaturated Fat: 7g
- Trans Fat: 0g
- Carbohydrates: 12g
- Fiber: 1g
- Protein: 20g
- Cholesterol: 70mg